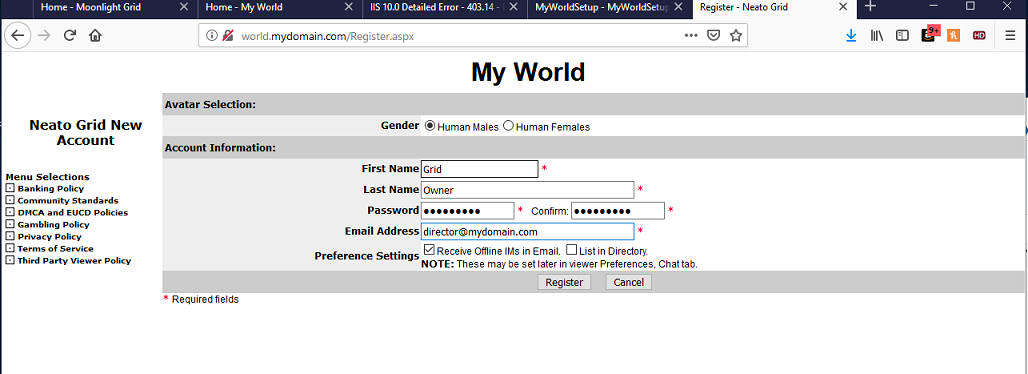
Halcyon Bare Metal to Login Tutorial
The following tutorial will enable you to install all the components of a Halcyon Grid with a Web Management Interface. The process can be relatively complex and not taken lightly. However the goal of this tutorial
is to make the process as straight forward and as painless as possible.
Halcyon doucmentation has never been a strong point, we aim to fix that.
There are several ways to install Halcyon and each has it's merits. We are
going to focus on a single server installation with master-branch sources.
This is not saying that the following process is the only accepted process,
it aims to be the least complicated and quickest deployment for a small
grid. By it's nature Halcyon, with a few configuration schemes, is very
scalable. So this one server installation can be migrated to a larger
platform to host medium, large or eventually massive grids.
Media Creation
The first step in the zero to hero setup is configuring the bare
metal server. This can be a physical machine or a Virtual Machine on the
VMware ESXi or VMWare Workstation/Player platform. These instructions can be
modified to support other virtual platforms such as Hyper-V and VirtualBox.
Those installs are beyond the scope of this tutorial and your mileage may
vary.
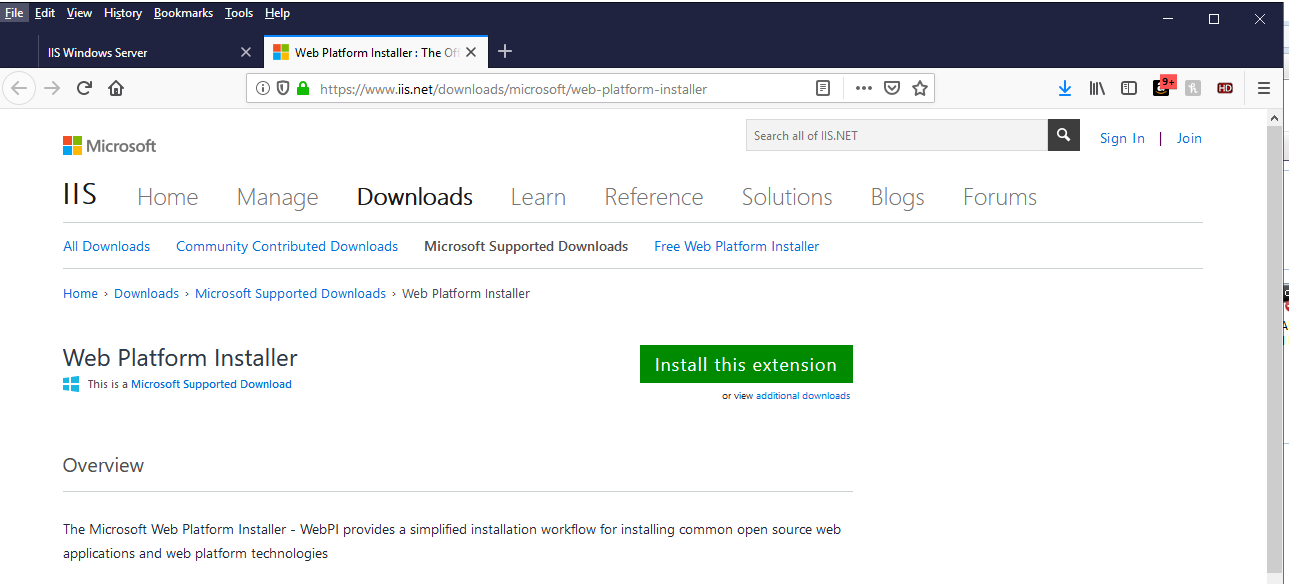
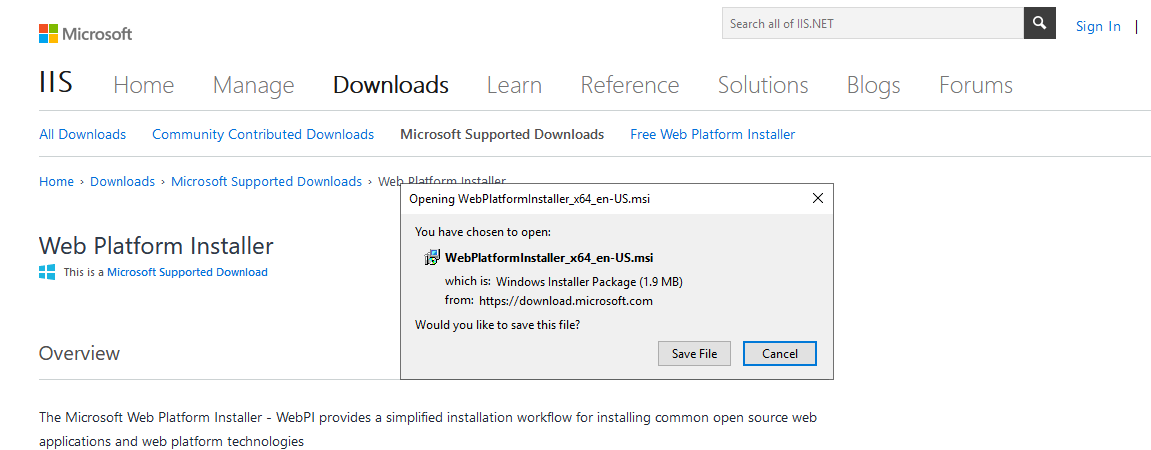
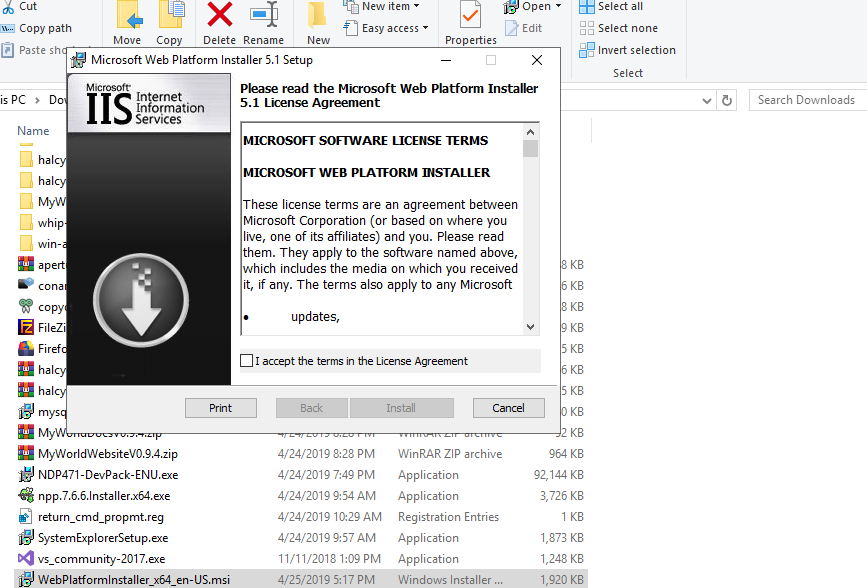
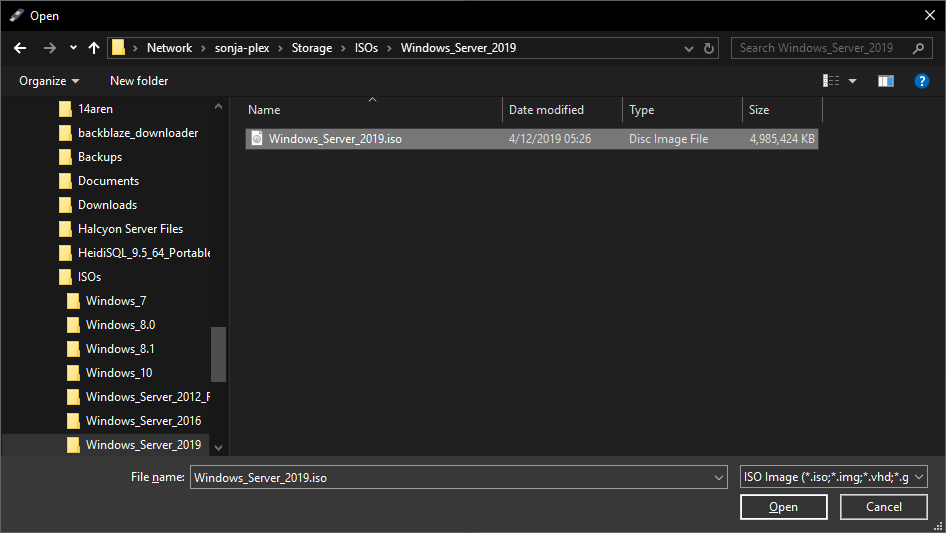
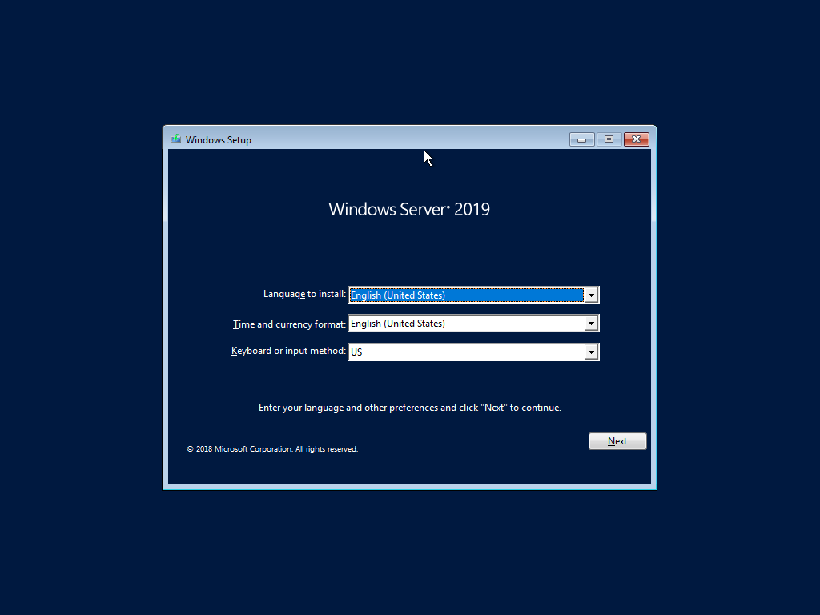
For this setup we are going to install Microsft Windows Server 2019 in evaluation mode. The iso can easily be downloaded from the Microsoft Servers here.
For this setup we are going to install Microsft Windows Server 2019 in evaluation mode. The iso can easily be downloaded from the Microsoft Servers here.
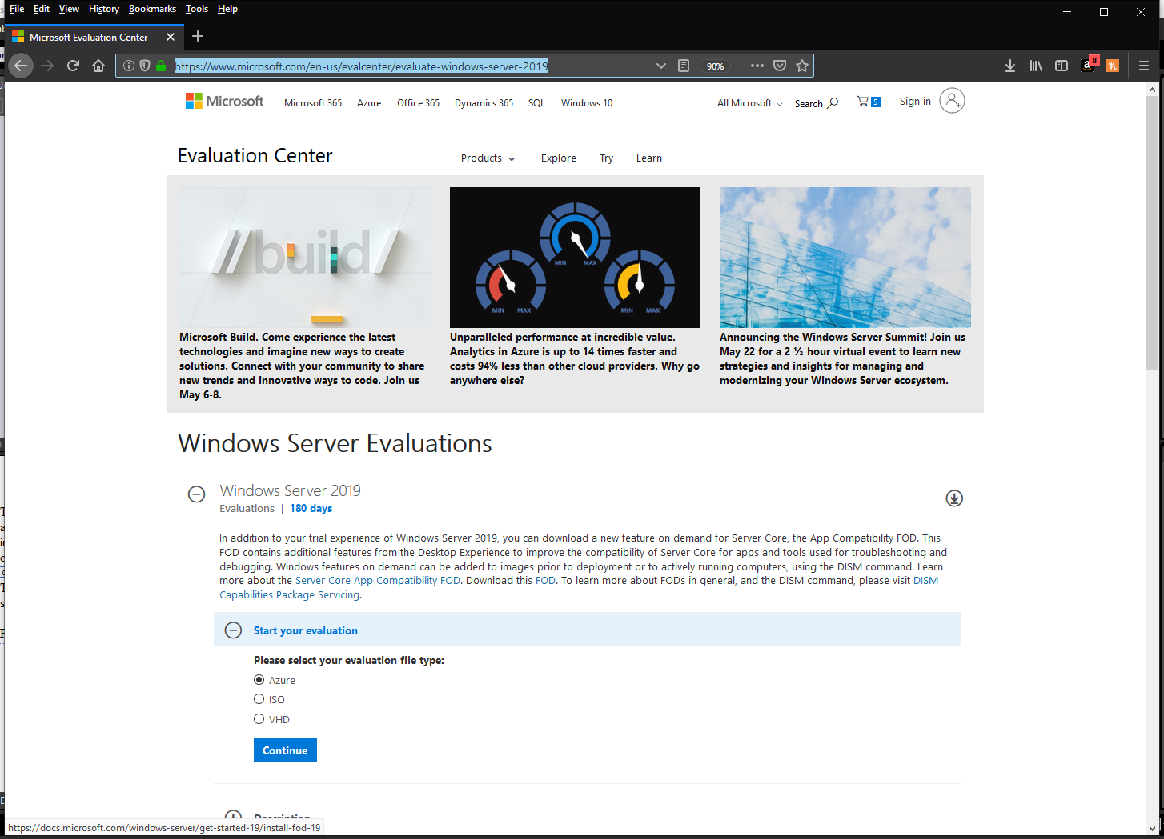
This evaluation iso gives you 180days from install to test, deploy and evaluate
your installation. If you are satisified with its performance and setup you
can always convert to a paid license through wichever Licensing Outlet you
desire.
Once
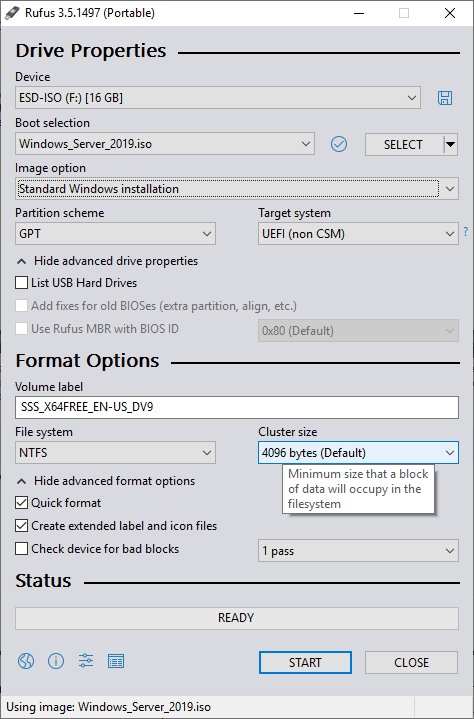
downloaded you can use Rufus to create a bootable DVD or ThumbDrive.
(Downloadable here) We'll be using a 16GB
ThumbDrive for this installation. Choose your device on the first pulldown,
Choose Disk or ISO Image from the second pulldown, then choose SELECT to
browse to your download ISO file.
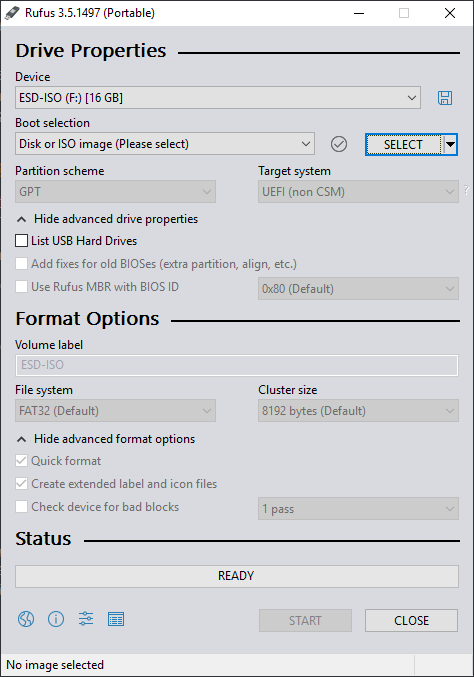
Once you choose your ISO, Rufus is ready to write to the ThumbDrive.
>
The default settings should suffice for image creation, tweak as you desire. Once all the settings are as you wish them, click on START to begin the write process.
Once you press START, you'll see the progress bar at the bottom begin to fill. The time this takes varies on the speed of your ThumbDrive, Disks and overall system.
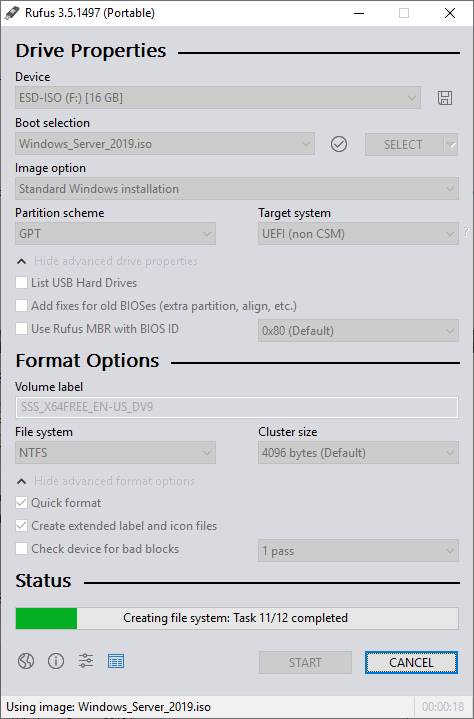

The process took roughly 10 minutes over a network drive to a 16GB SanDisk
Cruzer Glide USB Drive on an Intel i7 PC with 64GB RAM.
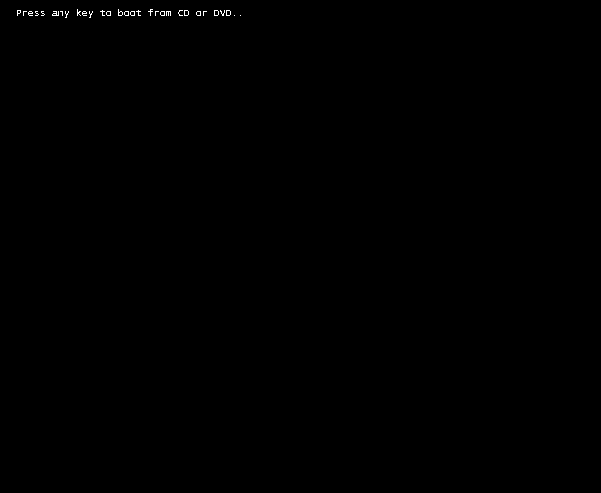
Once completed eject your ThumbDrive and load it into your bare metal server. Actual server specs can vary depending on your projected grid size and amount of users. I would suggest the following
- Dual Intel Xeon processor with 8 to 16 cores. A dual cpu setup will give you up to 32 processing cores to dedicate to your grid.
- 64GB to 128GB of system RAM, more is better of course.
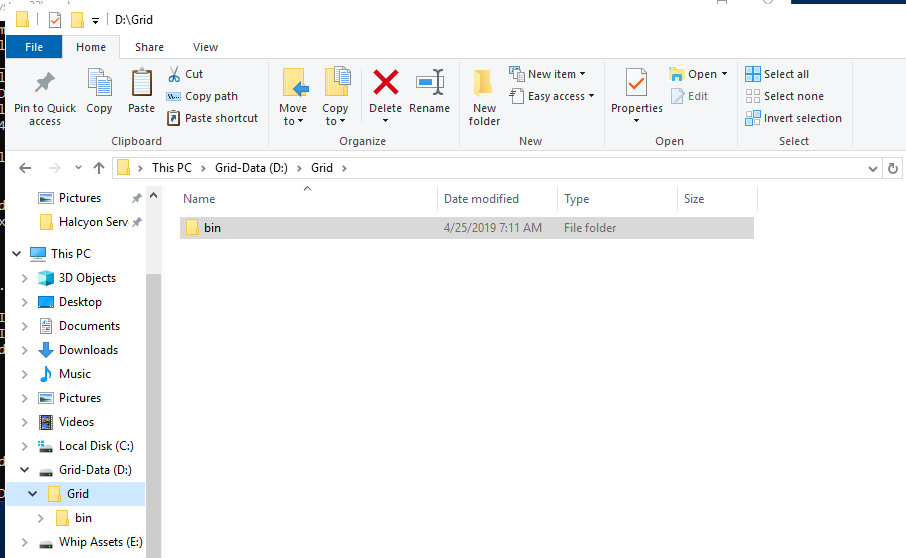
- A 120GB or larger SSD for your System/OS drive
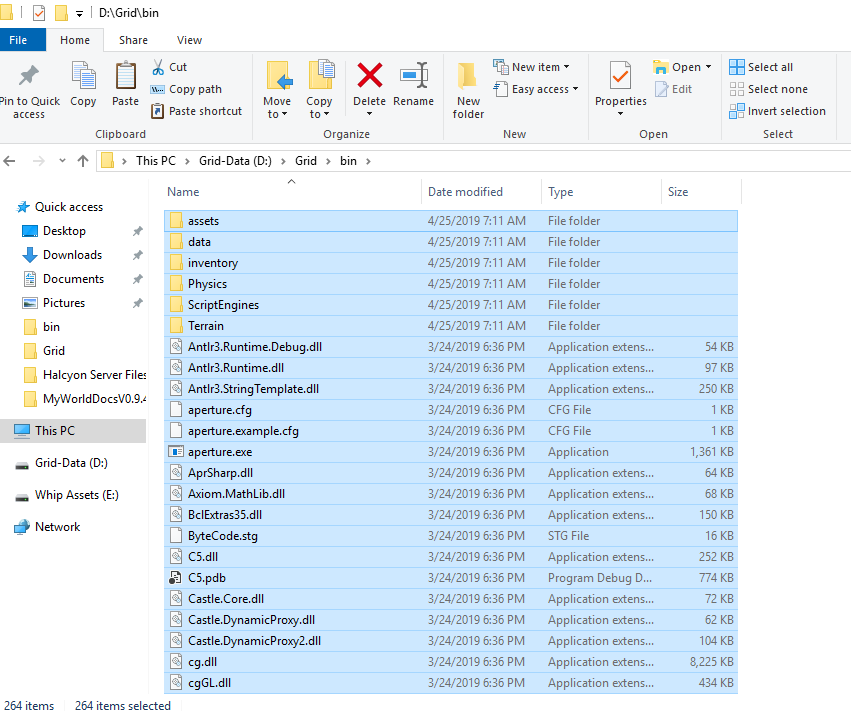
- A 120GB or larger SSD for your Grid Data Drive
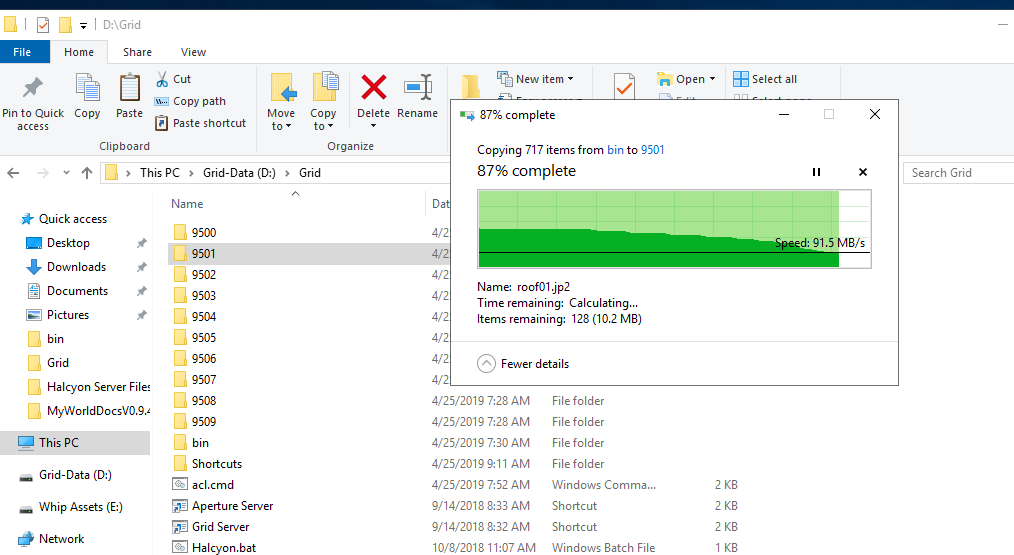
- A 2TB to 5TB or larger depending on your projected growth for you Whip
Asset Storage space.
Machines with similar specs can be found online from sites such as ebay or
refurbished server outlets for a reasonable price.
Server OS Install
Power on and let the system find the source files.

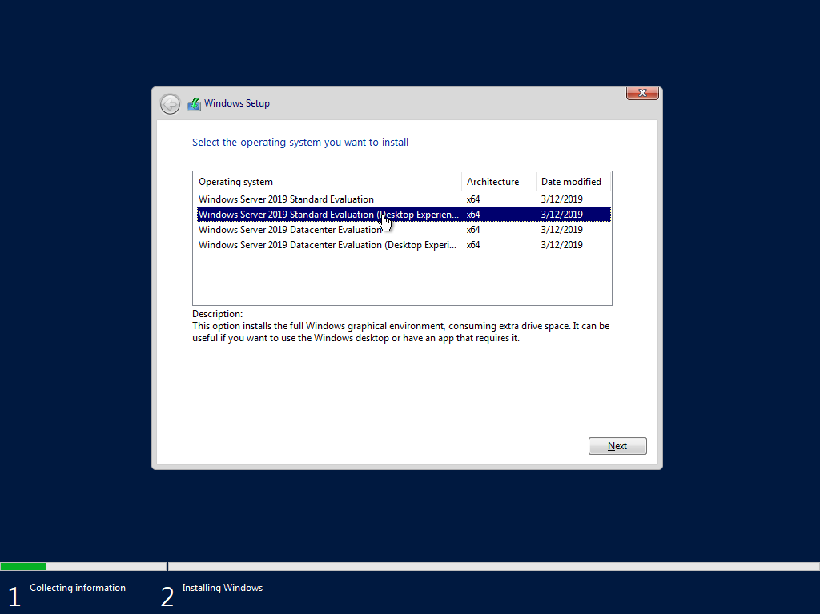
Besure to select Windows Server 2019 Standard (Desktop Experience)
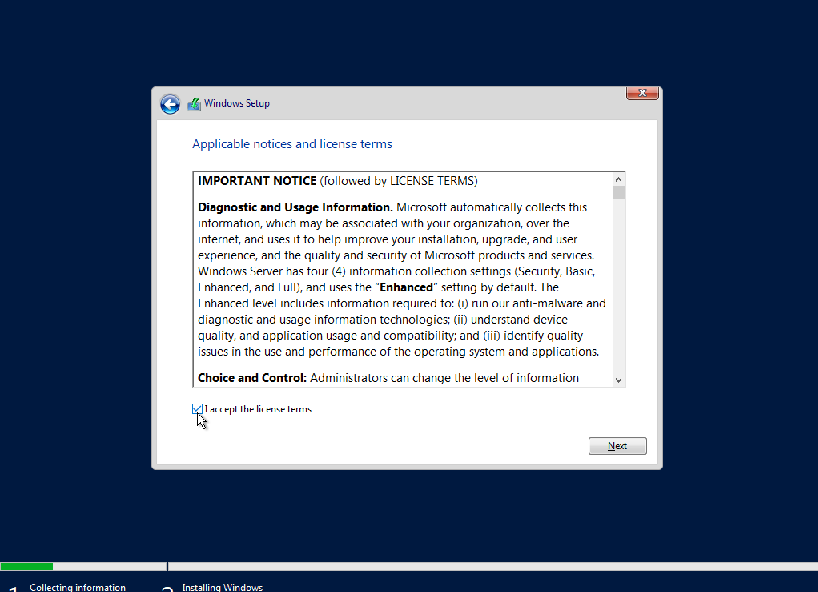
Check "I Accept" then click Next
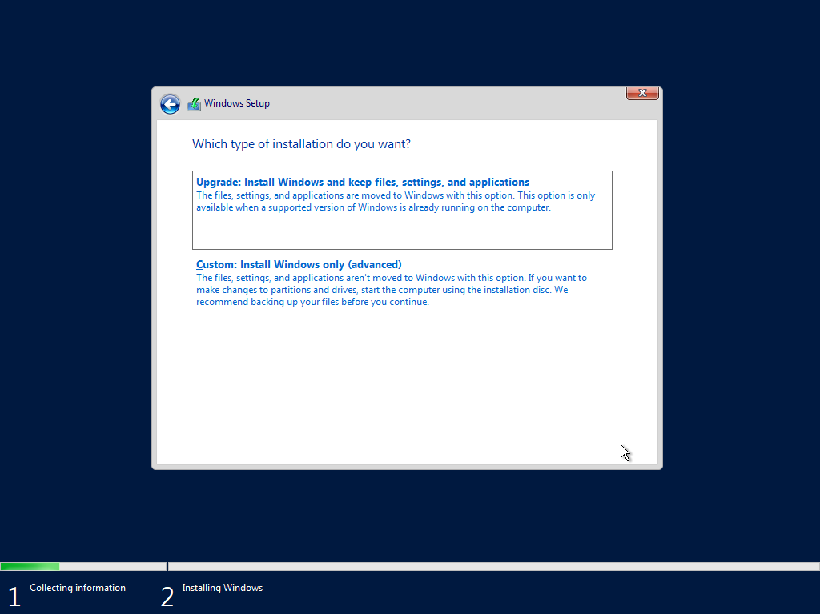
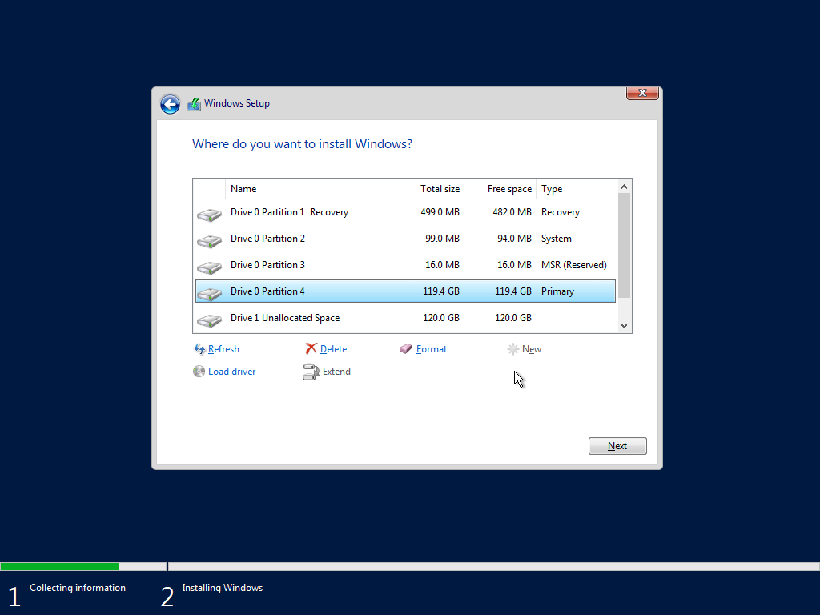
Choose Custom Install Windows Only (advanced)
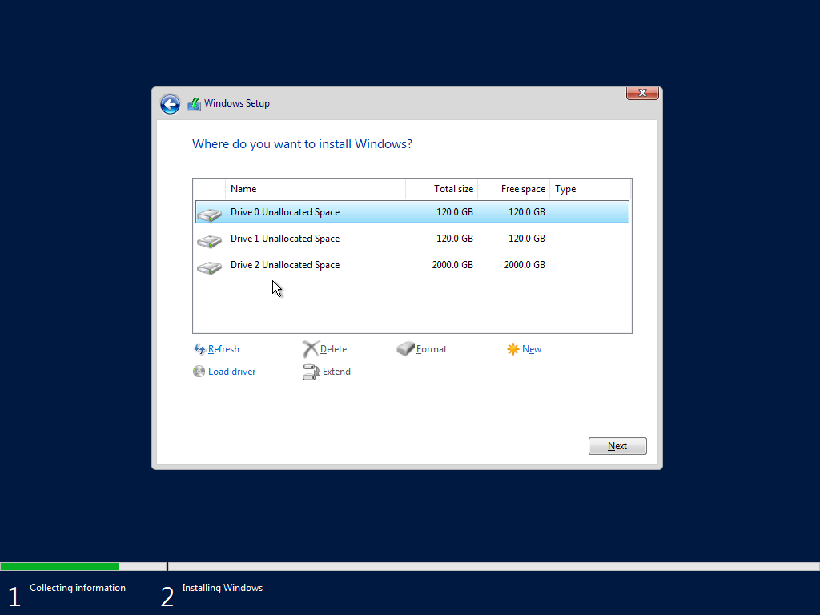
Choose the first 120GB Drive and click New
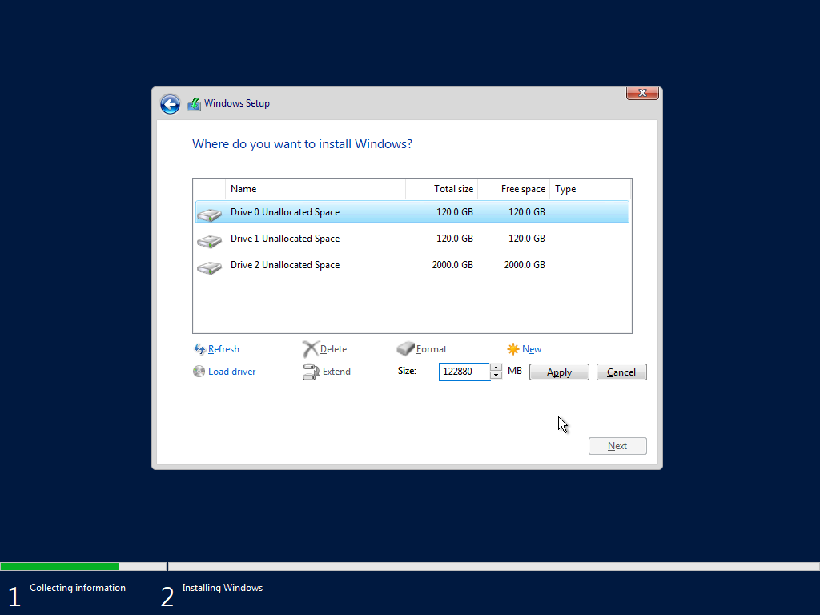
Take the default settings and click Apply
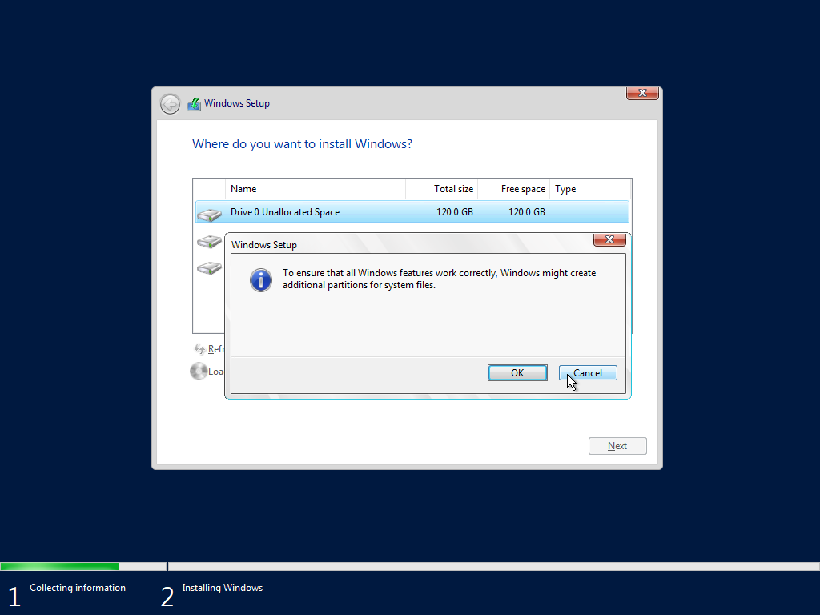
Click OK
Once the partitions are created on the first drive click NExt. Don't worry about the other drives now, we'll configure them inside the OS.
Let Windows work, depending on your specs this can be a few minutes or a long wait.
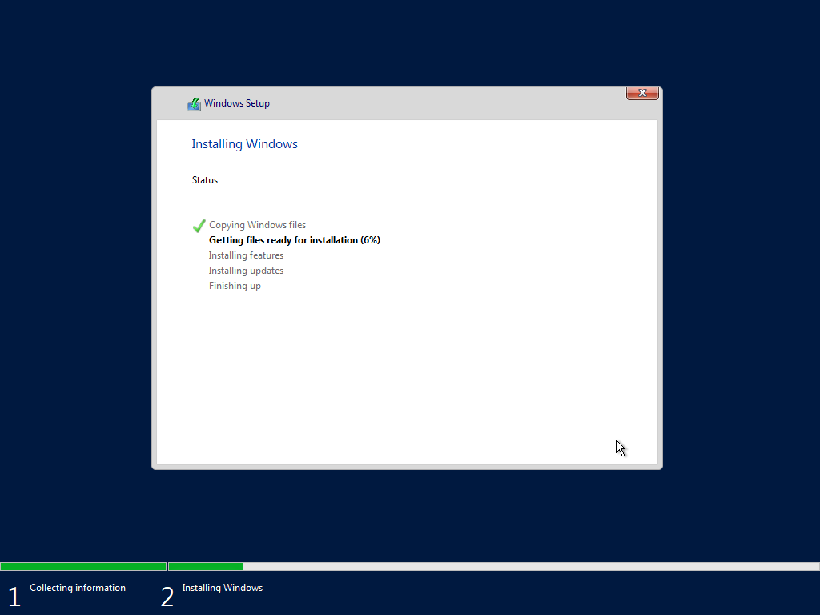
When the file copy is complete you'll be ready for your first restart.
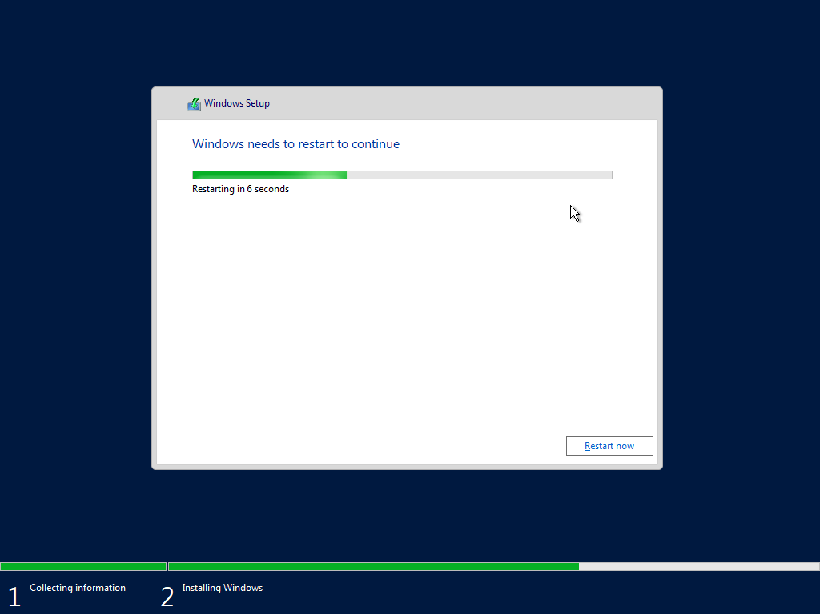
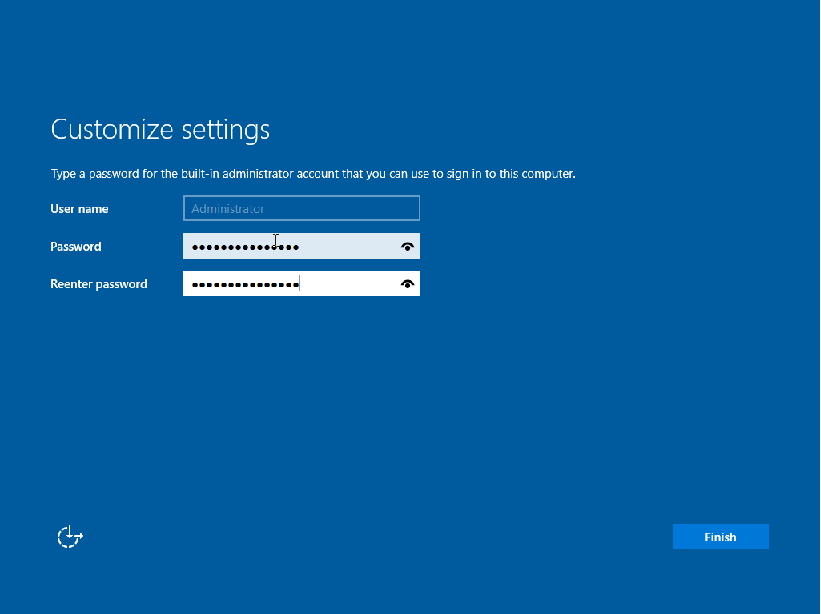
The machine will go through its paces and may reboot once or twice. Once the process is complete you'll be presented with a Password Creation Dialog. Choose an appropriately secure password and click Finish.
Now you're at the Lock Screen, Press Control - Alt - Delete to pring up the password prompt.
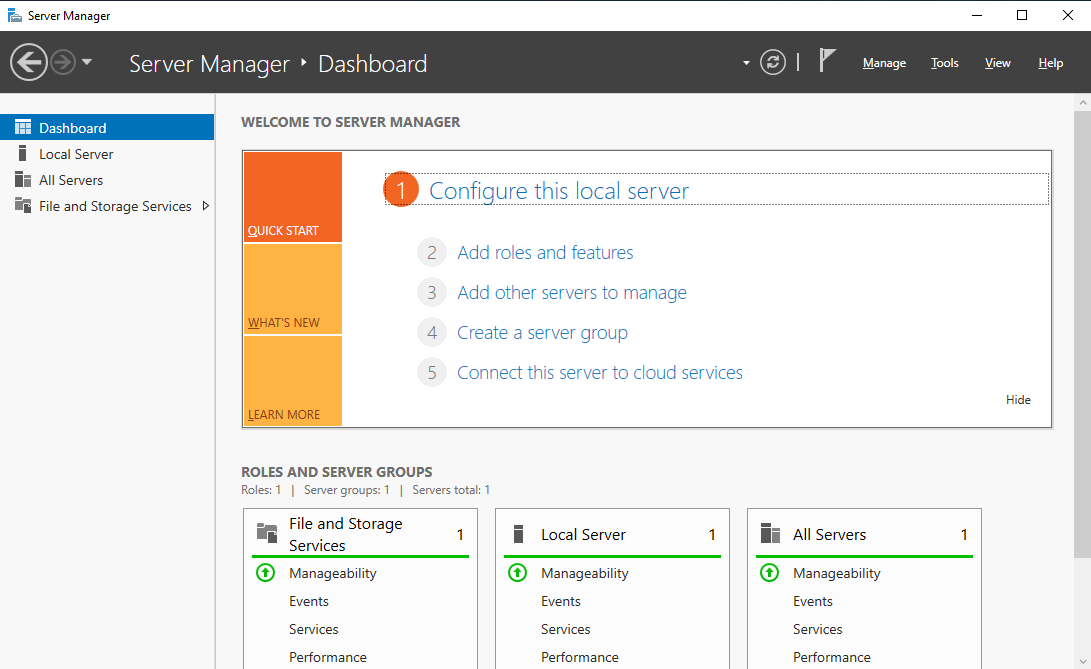
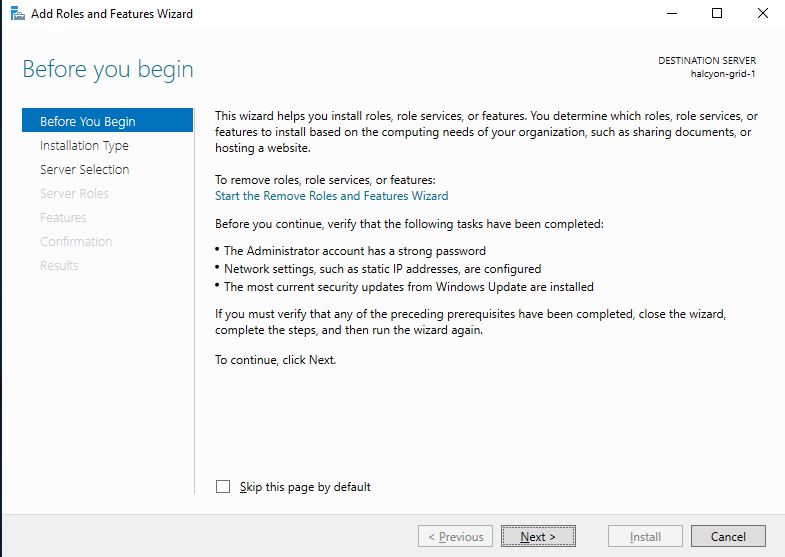
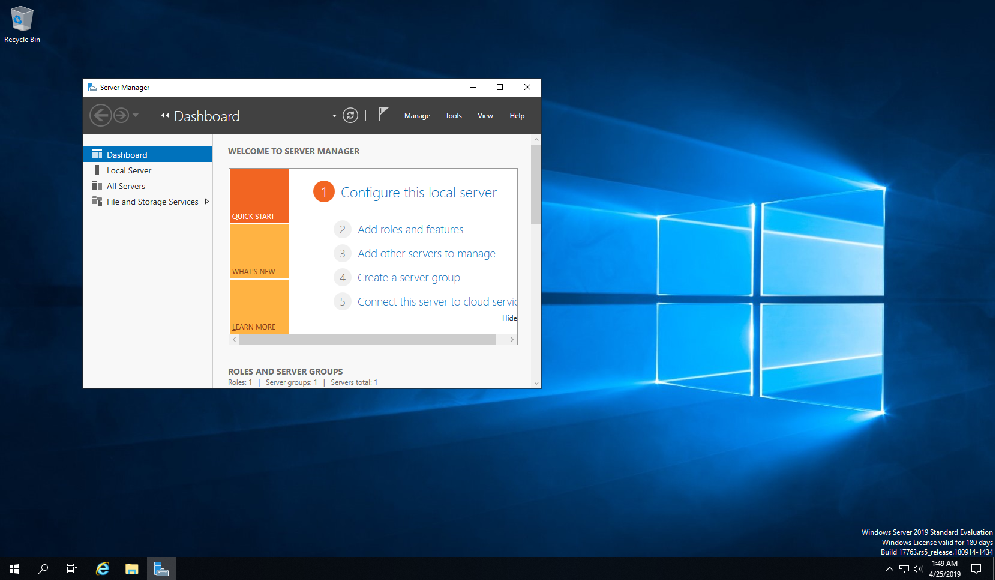
Once logged in you'll be presented with the desktop. First a couple of house keeping tasks to make our lives easier.
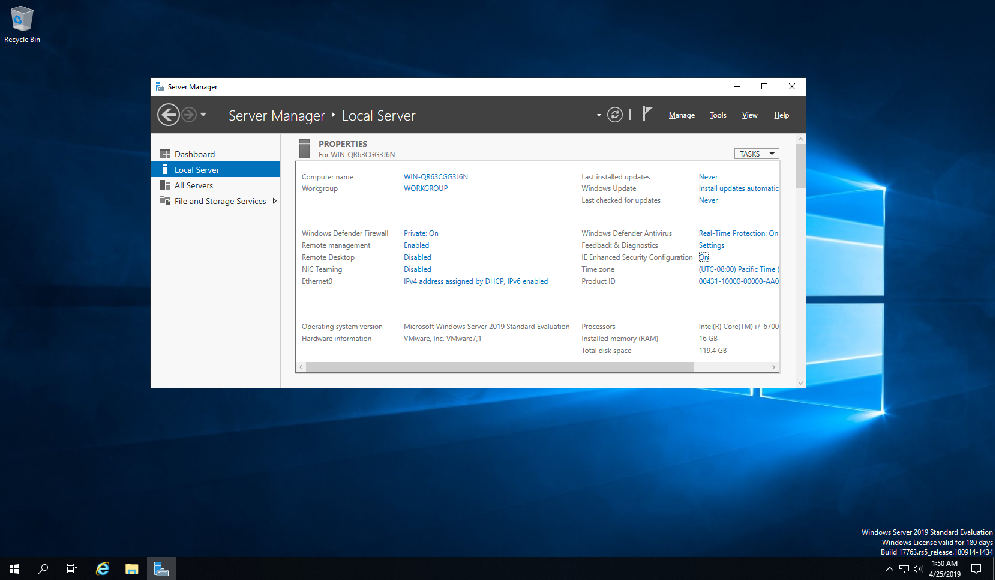
First we'll click on Local Server in the Server Manager.
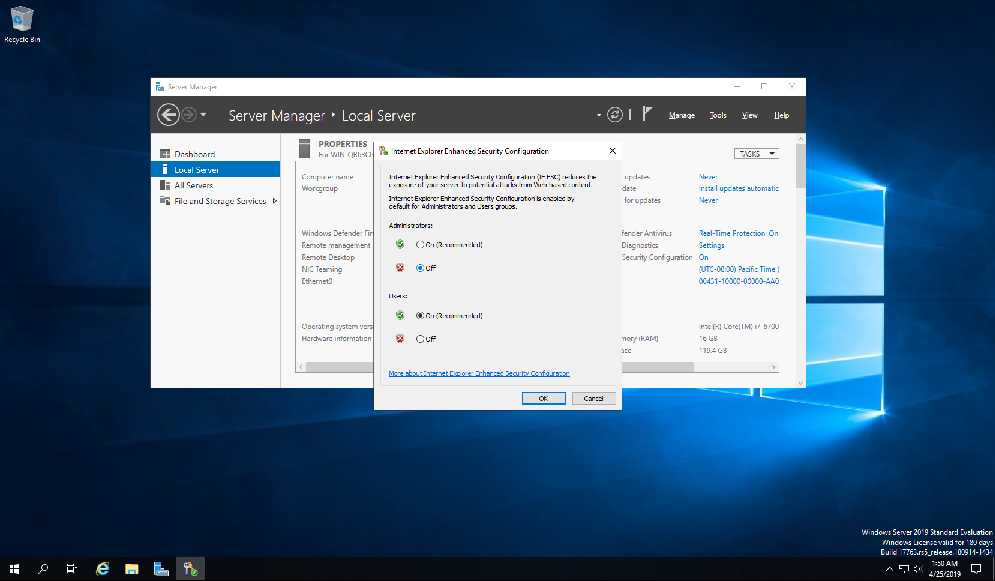
Then on the right side middle click on IE Enhanced Security Configuration.
Choose the OFF radio button for Administrators then click OK.
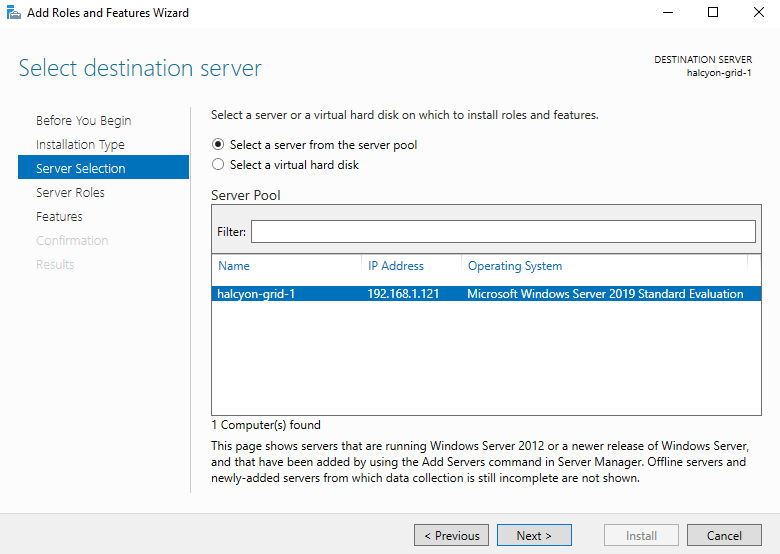
When you are back to the Local Server, click on Computer Name to change the system name to something more appropriate and usable than the default generated name.
Click Change, then under Computer name enter in your desired system name. Here we chose halcyon-grid-1. Click OK Then OK again.
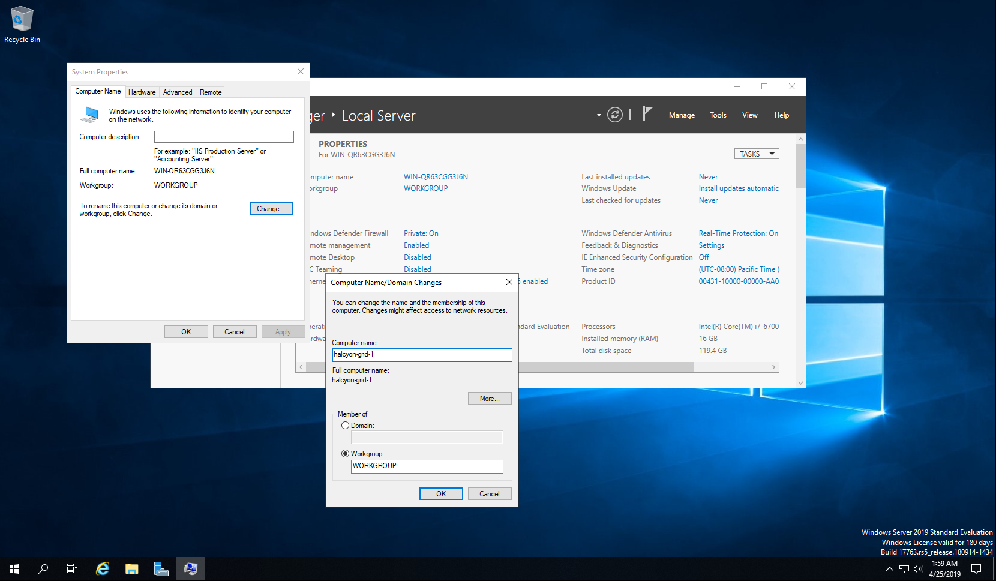
Once you click through the dialogs you'll be asked to restart the system in order to apply the new changes. Click Restart Now.

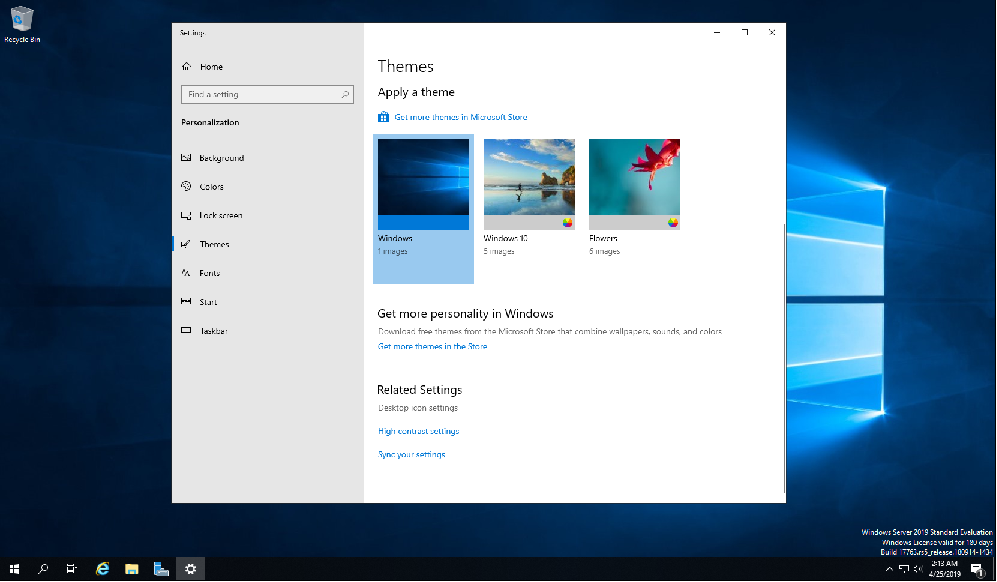
Let the system Restart. Once ready log back in. Right click on the desktop and choose Personalize.

Click on Themes, then Choose Desktop Icon Settings at the bottom.
Check all the boxes for Computer, User's Files, Network, Recycle Bin and Control Panel and click OK
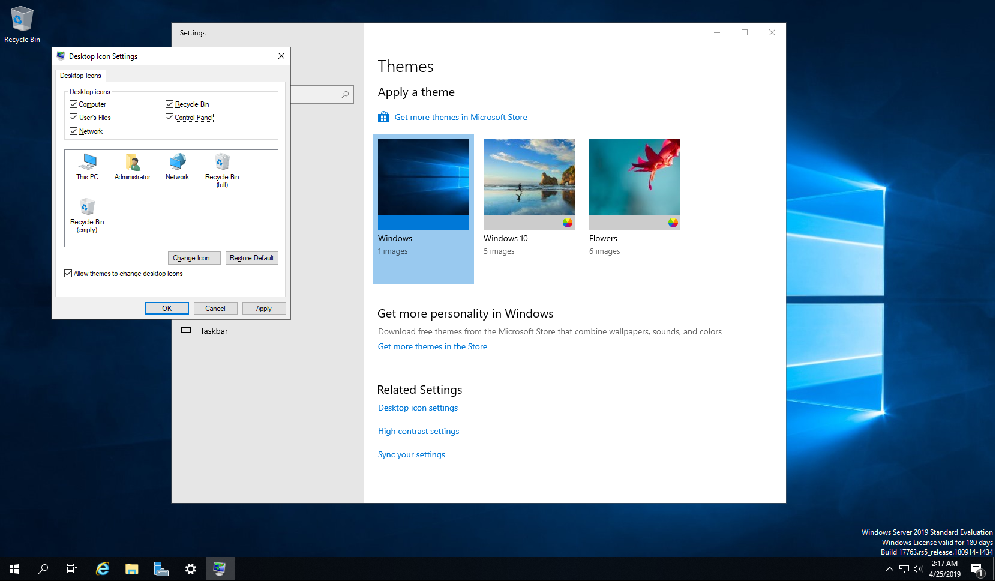
The last step is a matter of personal preference. I found having those icons on the desktop makes for less menu browsing and puts what I need at easy reach.

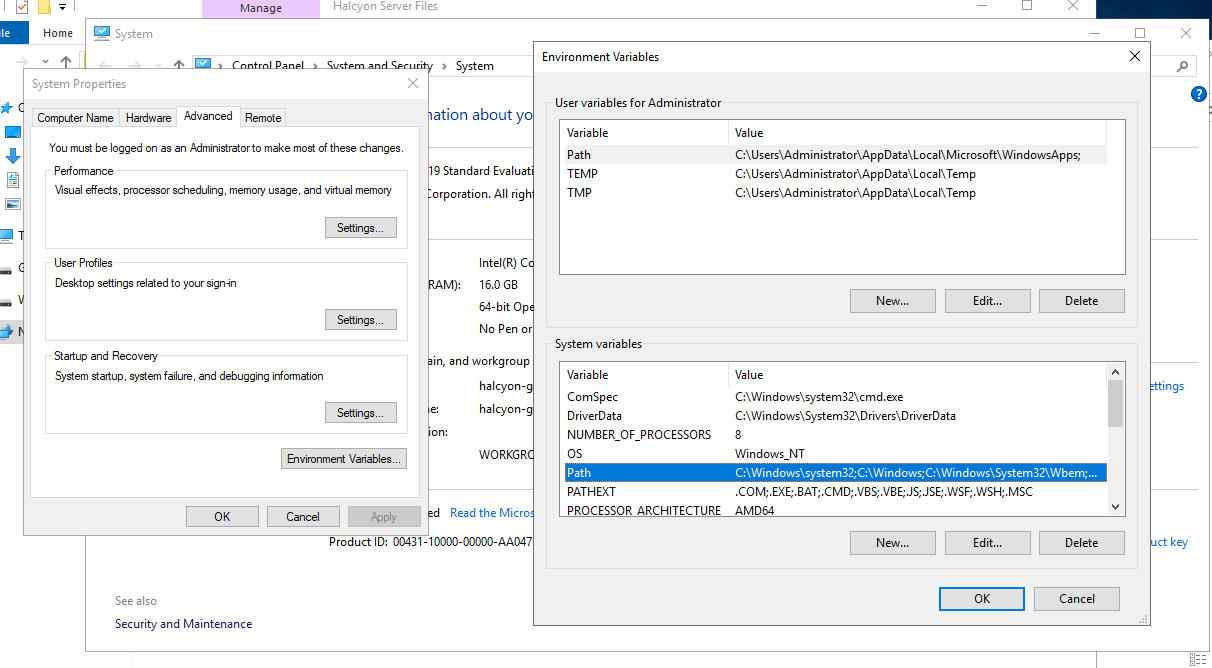
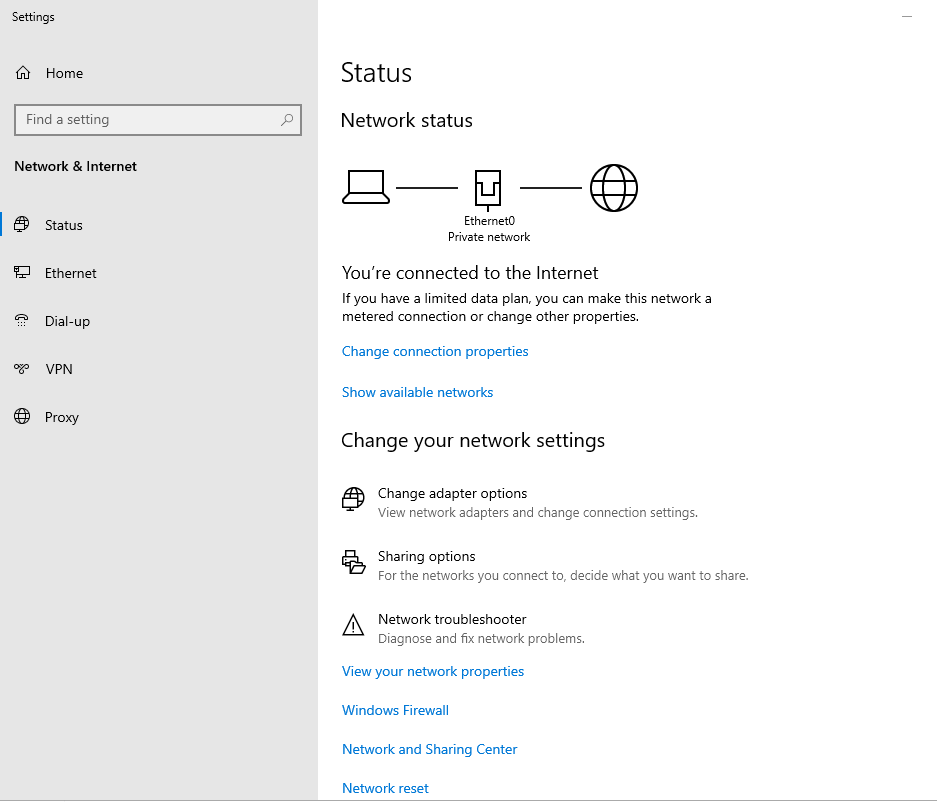
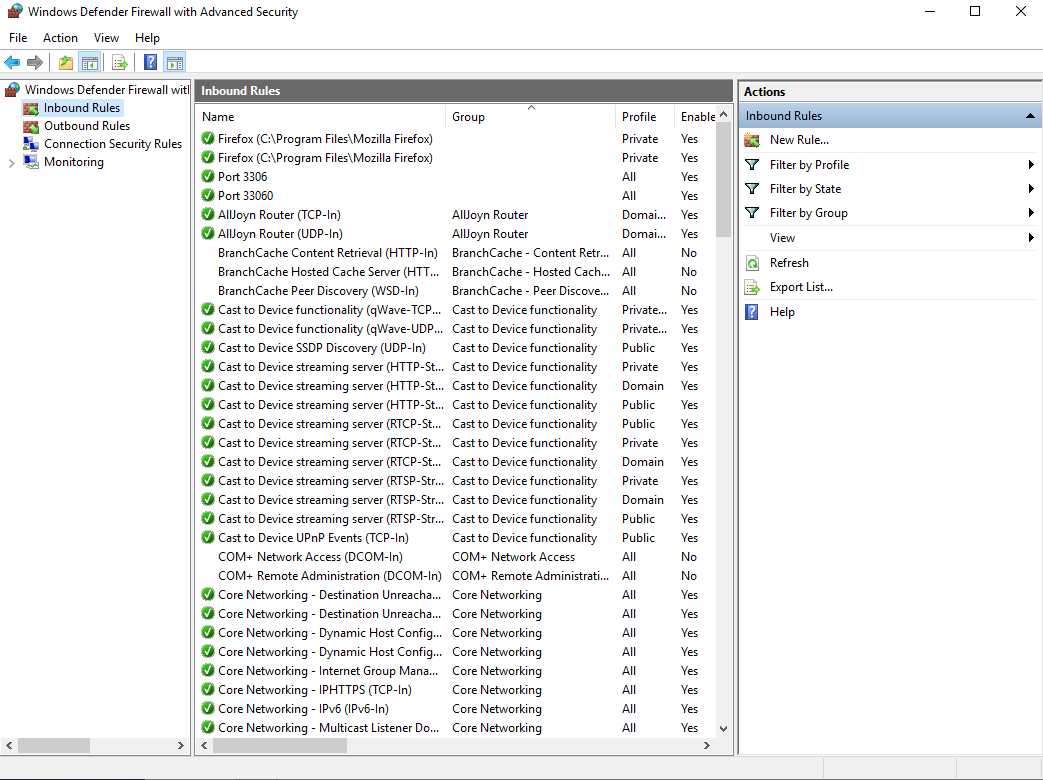
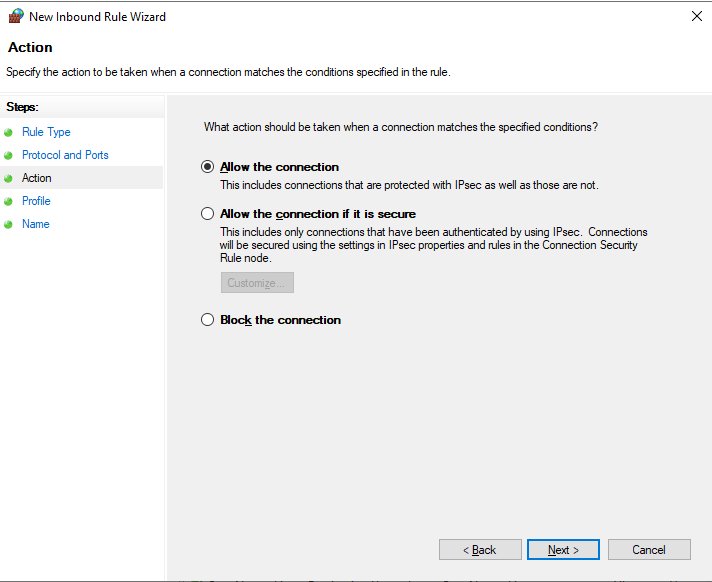
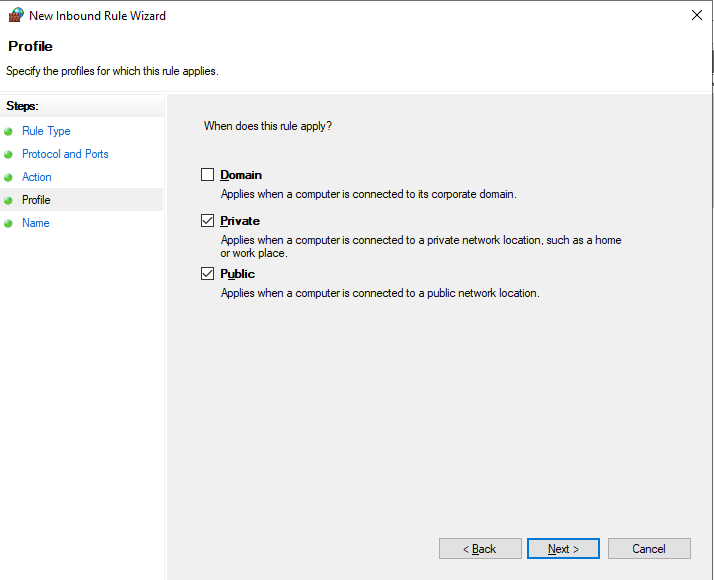
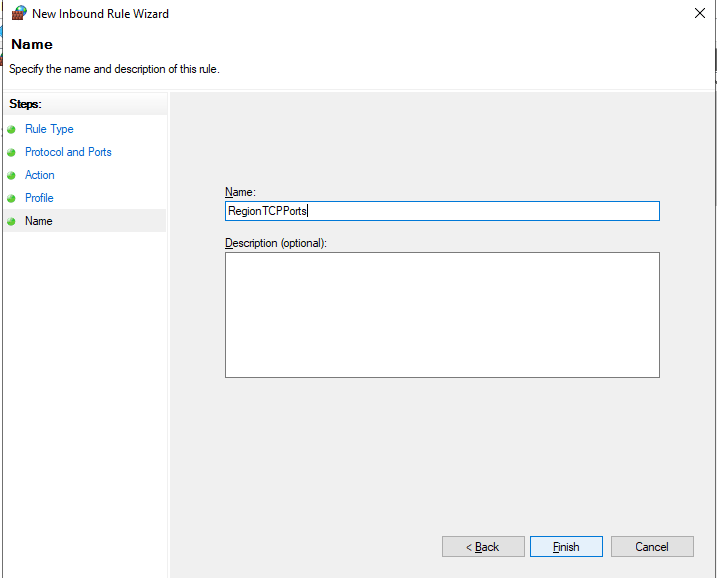
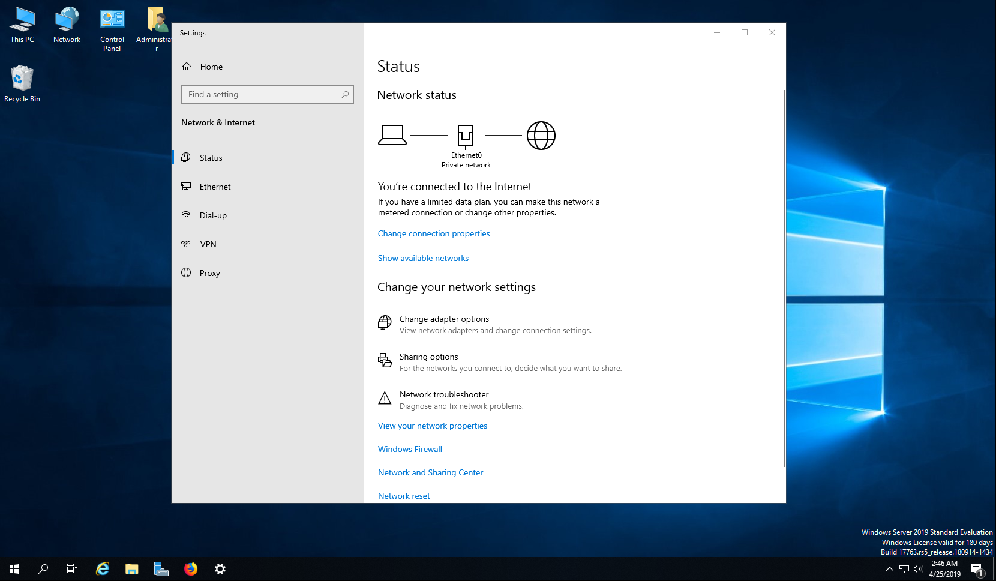
Time to configure your Network. Right click on the Networking Icon in the system tray and choose
Open Network & Internet Settings. In the dialog click on Change Adapter Options
Right click on your Ethernet Adapter (You are using a wired connection aren't you???) and choose properties. Choose Internet Protocol Version 4 (TCP/IPv4) and click Properties. You can use DHCP is you have relative control of your IP address. Though I reccommend you use a Static IP. Click Use the following IP address and fill in your IP, NetMask and Default Gateway.
eg: IP: 192.168.1.100
Subnet mask: 255.255.255.0
Default Gateway: 192.168.1.1
Of course these values will be provied by your Hosting Provider. If you're running a development setup on your home network (not advised for production environments) these settings will be found in your Router's configuration.
Choose Use the following DNS server addresses. In the Preferred DNS Server enter 8.8.8.8 and in the Alternate DNS Server enter 8.8.6.6. These are a couple of the Google DNS servers and provide pretty quick and updated DNS resolving. You can of course use your Hosting Provider's DNS settings if you like.
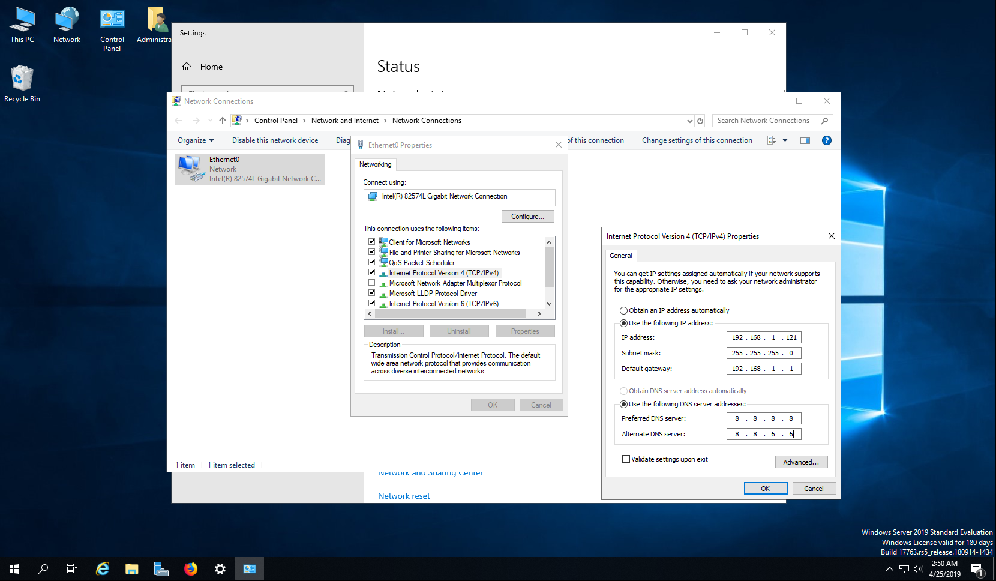
Click OK and close all the dialogs. If all went well you should be connected to the Internet.
Right click the Windows Start Icon and choose Disk Management from the Menu. Right Click on Disk 1 and choose Online.
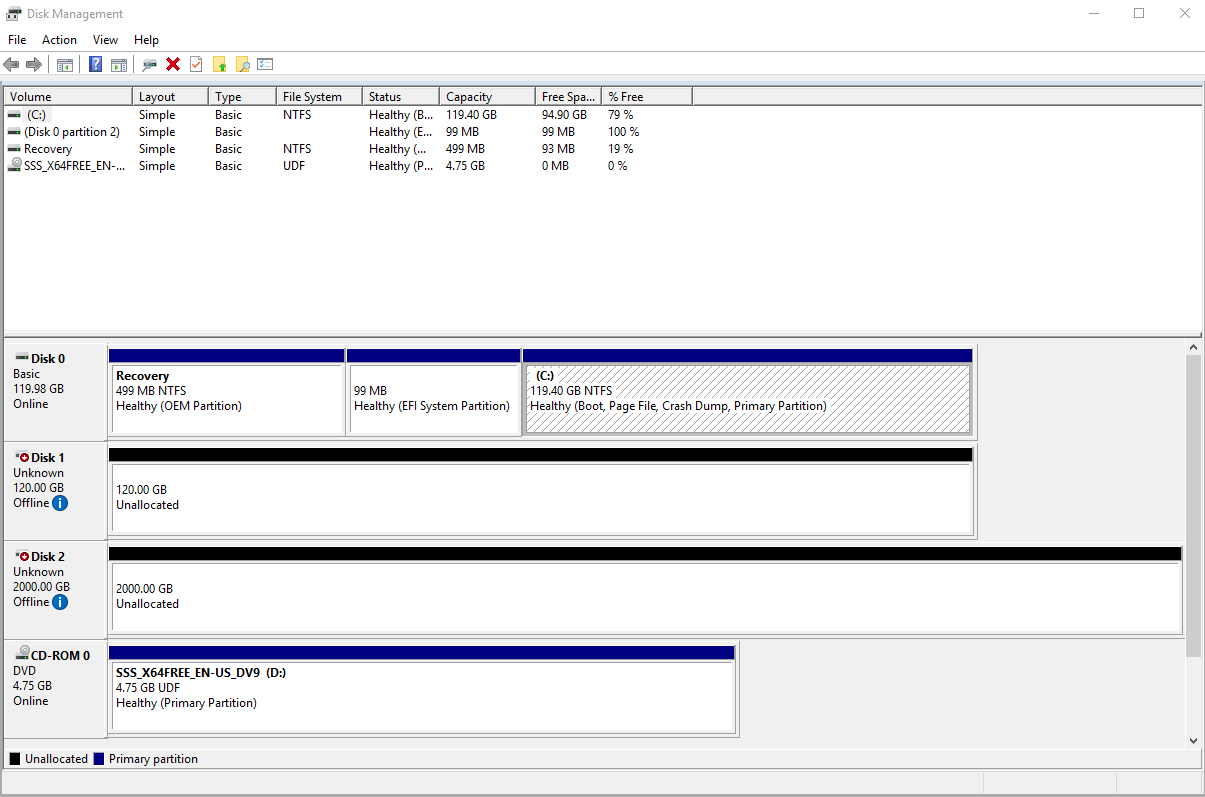
Right click on Disk 1 again and Choose Initialize Disk. Check Disk 1 and choose GPT (GUID Partition Table) then click OK.

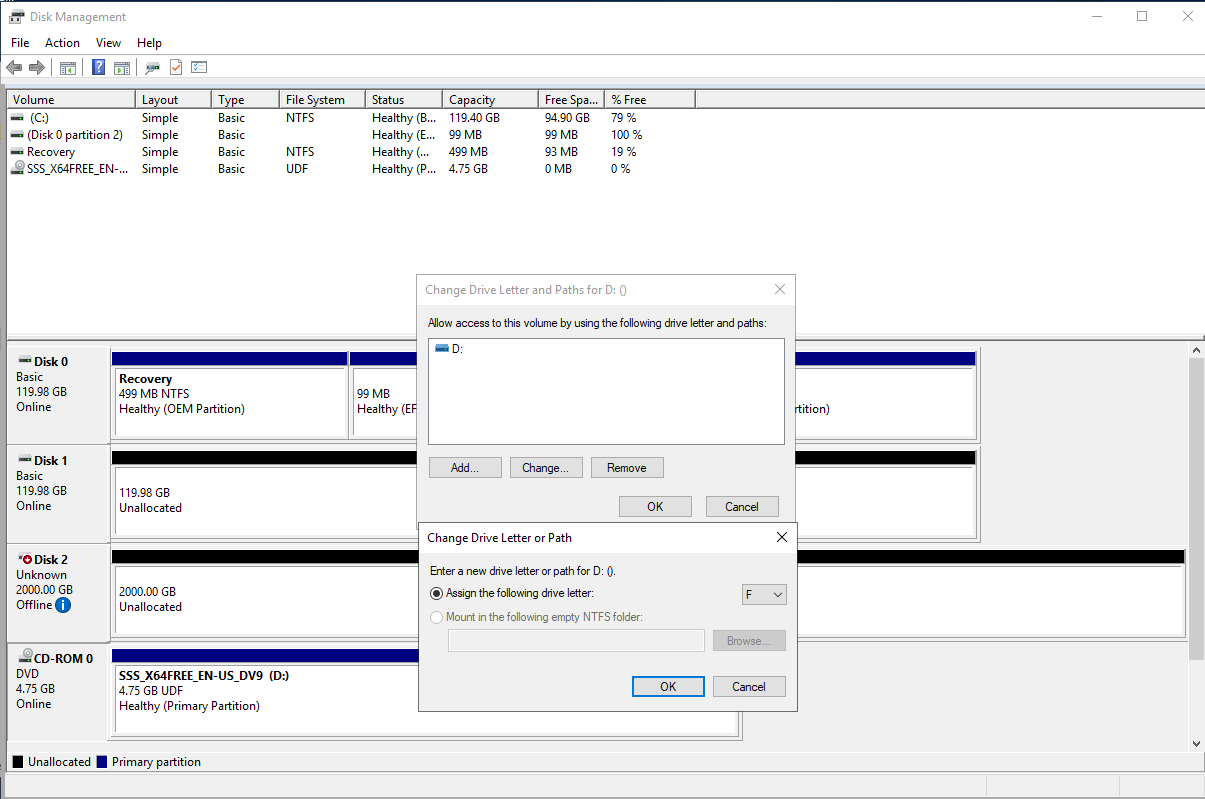
If you have one installed click on the CD-ROM drive and choose Change Drive Letter and Paths. Click Change, then assign a new drive letter beyond you installed Hard Drives. eg: F if you have 3 HDD's.
Click on then Yes. The CD-ROM should now be remapped opening space for the HDD's
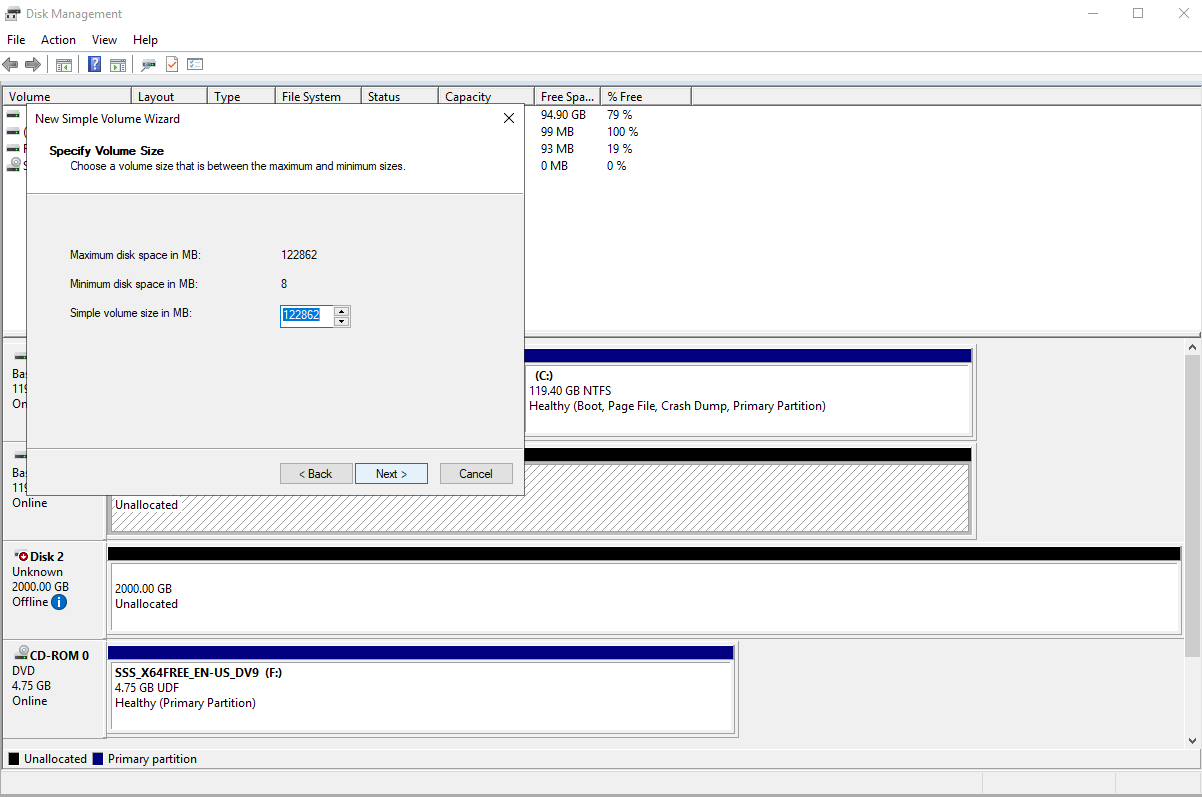
Right click on Disk 1's volume and choose New Simple Volume. Click Next
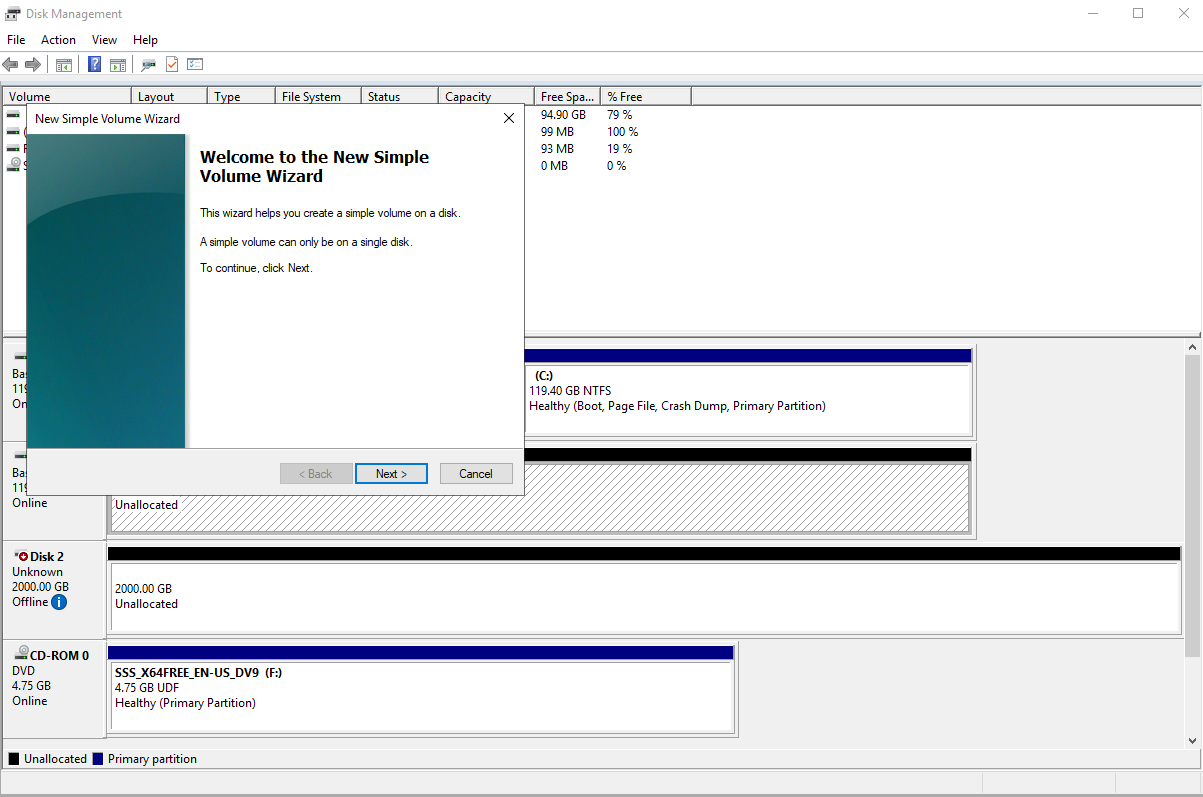
Choose the appropriate size for your drive, click Next
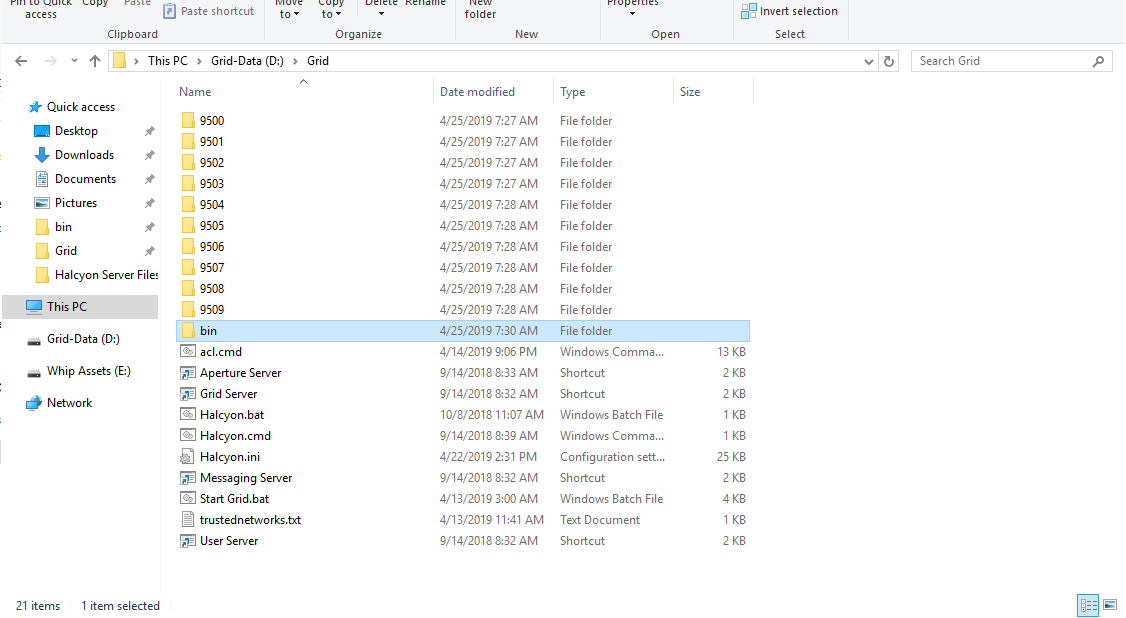
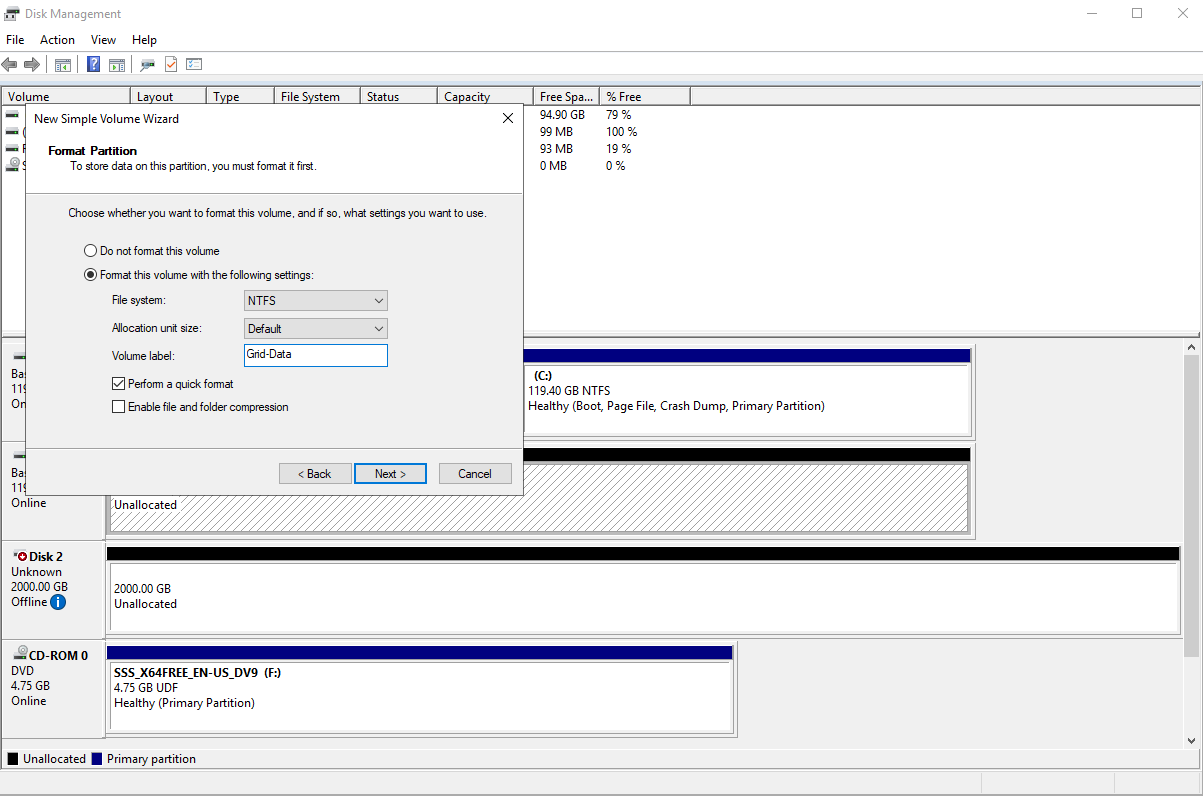
Choose Format this volume with the following settings, NTFS, Default and name it Grid-Data. Click Next.
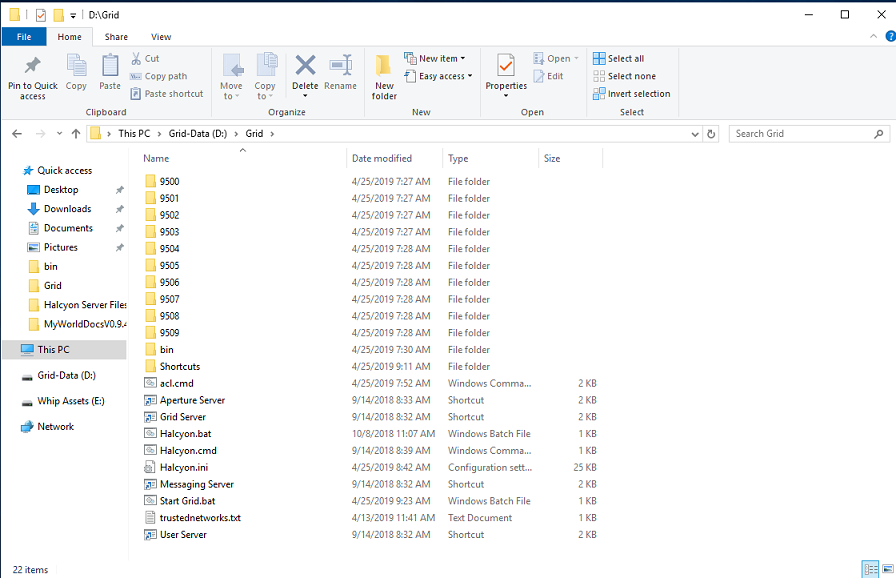
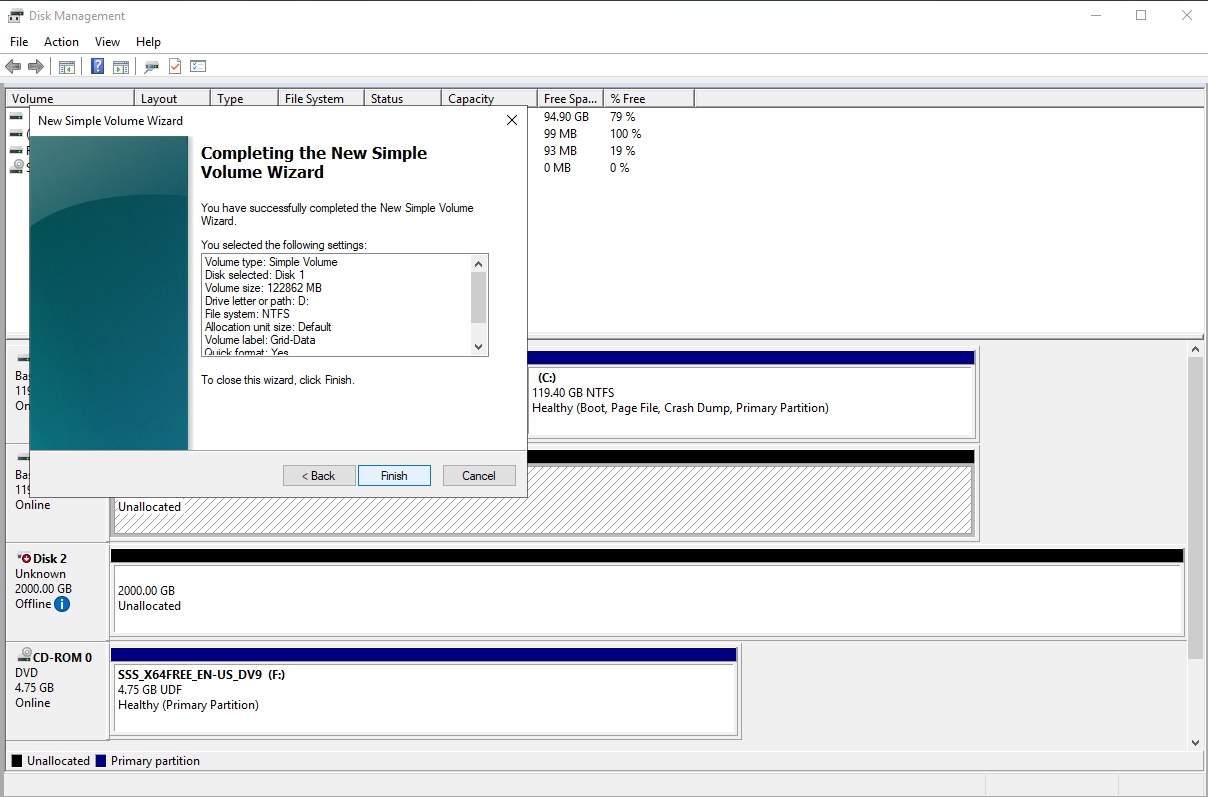
Click on Finish and your drive will be ready for use as D:\ and named Grid-Data.
Repeat the above steps for Drive 2. Name it Whip Assets.
This should complete the OS Config.